In the Angular web application, we can implement an Angular camera using a different library. In the mobile application, we can use a native camera to take a snapshot from the camera or to choose images from the mobile device image library.
In this tutorial we have two objectives, we’ll learn how to used ngx-webcam library to capture image from our mobile or desktop browser. This library provide simple angular webcam component and it is very simple to use. The one component gives you full control and lets you take snapshots via actions and event bindings. Second we’ll create custom Angular camera component using browser API navigation to access camera.
Different approaches to capturing an image in Angular
There are different libraries to capture images in angular. The first approach uses a native HTML video tag and MediaDevice interface to implement an angular camera without third-party libraries. WebRTC standard provides APIs for accessing cameras and microphones connected to the computer or smartphone. These devices are commonly referred to as Media Devices and can be accessed with JavaScript through the navigator.mediaDevices object, which implements the MediaDevices interface.
The second approach and most common way of capturing images are using the ngx-webcam library. There are lots of other third-party libraries, we will use the most popular camera library called ngx-webcam.
Example of Angular camera to capture Image
In these articles, we’ll implement a capturing image using the ngx-webcam library. Let’s first create an Angular project and add a new angular component called the camera to implement camera activities. Also need to install a third-party library ngx-webcam to capture an image in our angular application. The ngx-webcam, angular webcam component has the following features.
- Webcam live view
- Photo capturing
- Access to front- and back cameras, if multiple cameras exist
- Smartphone compatibility for modern OS (OS must support WebRTC/UserMedia API)
- Mirrored live-view for user-facing cameras – “selfie view” on phones
- Portrait & Landscape mode on smartphones
- Capturing lossless pixel image data for better post-processing.
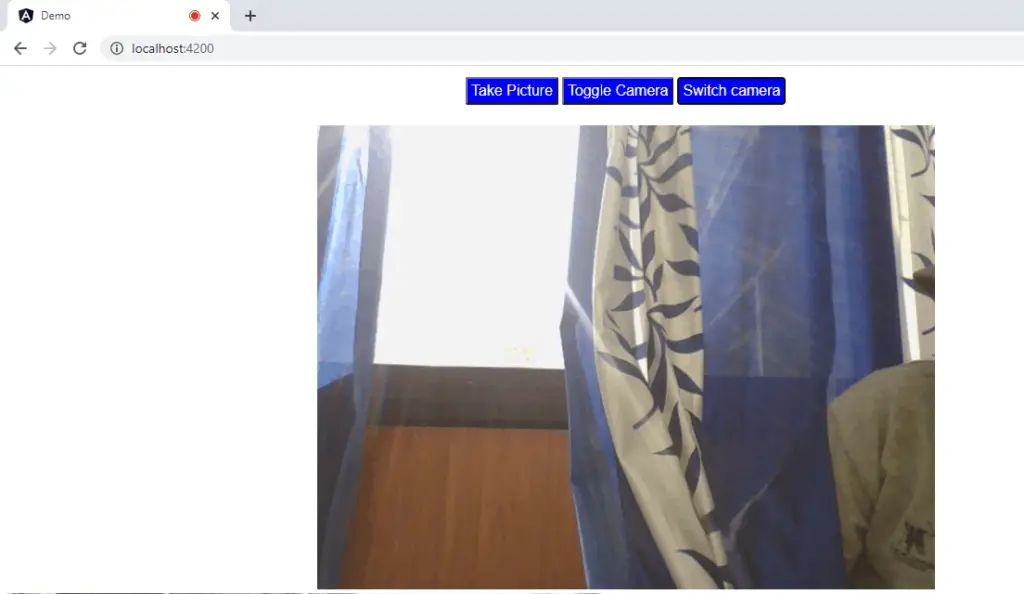
Here is a screenshot camera image from ngx webcam Angular
Step 1: Create a camera project and install ngx-webcam library
ng new angularCamera
cd angularCamera
ng generate component camera
npm i ngx-webcam --save
Running the above command in the terminal will create our angular project, where the camera in the above 3rd command is our custom camera component, and install the ngx-webcam library to our application.
Step 2: Import WebcamModule into our angular Module
We need to import our WebcamModule from our ngx-webcam in our app.module.ts file as.
import { BrowserModule } from '@angular/platform-browser';
import { NgModule } from '@angular/core';
import { AppRoutingModule } from './app-routing.module';
import { AppComponent } from './app.component';
import { WebcamModule } from 'ngx-webcam';
import { CameraComponent } from './camera/camera.component';


@NgModule({
  declarations: [
    AppComponent,
    CameraComponent
  ],
  imports: [
    BrowserModule,
    AppRoutingModule,
    NgbModule,
    WebcamModule
  ],
  providers: [ CourseService],
  bootstrap: [AppComponent]
})
export class AppModule { }
We don’t need to add or import a Camera component called CameraComponent, it will add automatically while creating the camera component.
Step 3: Implement Angular Camera Component
In our camera component, we’ll be handling all tasks related to the camera. Modern devices, most devices have more than one camera. In our camera component, we’ll perform camera activities like switching between cameras if having more than, one camera, showing| or hiding the camera, and capturing an image.
Let’s add a three-button to our camera component to perform the above task. Edit camera.component.html file as.
<div *ngIf="isCameraExist; else noCameraExist">
    <div style="text-align:center">
        <div class="btn-group">
            <button class="button" (click)="takeSnapshot()">Take Picture</button>
            <button class="button" (click)="changeWebCame(true)">Toggle Camera</button>
            <button class="button" (click)="onOffWebCame()">Switch camera</button>
        </div> <br />
        <webcam [height]="500" [width]="1000" [trigger]="triggerObservable" (imageCapture)="handleImage($event)"
            *ngIf="showWebcam" [switchCamera]="nextWebcamObservable"></webcam>
    </div>

    <div *ngIf="errors.length > 0">
        <h4>Error Messages:</h4>
        <ul *ngFor="let error of errors">
            <li>{{ error | json }}</li>
        </ul>
    </div>
</div>

<ng-template #noCameraExist>
    Camera device not available
</ng-template>
We have the isCameraExist variable to check if the camera exists or not, if not, we are displaying a message saying the camera does not exist on the device. Edit camera.component.ts file. We need to import the angular webcam class and method from ngx-webcam.
import { Component, EventEmitter, OnInit, Output } from '@angular/core';
import { WebcamImage, WebcamInitError, WebcamUtil } from 'ngx-webcam';
import { Observable, Subject } from 'rxjs';

@Component({
  selector: 'app-camera',
  templateUrl: './camera.component.html',
  styleUrls: ['./camera.component.scss']
})
export class CameraComponent implements OnInit {
  @Output() getPicture = new EventEmitter<WebcamImage>();
  showWebcam = true;
  isCameraExist = true;

  errors: WebcamInitError[] = [];

  // webcam snapshot trigger
  private trigger: Subject<void> = new Subject<void>();
  private nextWebcam: Subject<boolean | string> = new Subject<boolean | string>();

  constructor() { }


  ngOnInit(): void {
    WebcamUtil.getAvailableVideoInputs()
      .then((mediaDevices: MediaDeviceInfo[]) => {
        this.isCameraExist = mediaDevices && mediaDevices.length > 0;
      });
  }

  takeSnapshot(): void {
    this.trigger.next();
  }

  onOffWebCame() {
    this.showWebcam = !this.showWebcam;
  }

  handleInitError(error: WebcamInitError) {
    this.errors.push(error);
  }

  changeWebCame(directionOrDeviceId: boolean | string) {
    this.nextWebcam.next(directionOrDeviceId);
  }

  handleImage(webcamImage: WebcamImage) {
    this.getPicture.emit(webcamImage);
    this.showWebcam = false;
  }

  get triggerObservable(): Observable<void> {
    return this.trigger.asObservable();
  }

  get nextWebcamObservable(): Observable<boolean | string> {
    return this.nextWebcam.asObservable();
  }

}
In ngOnInit method, we are checking if the camera exists or not and we also have a method to toggle to show and hide the camera. The takeSnapshot() method takes snapshot images from the camera in our angular application.
The @Output() decorator is linked to events that can be used to listen for data changes or other events that a parent component might be interested in and can also be used to share data up the component tree from the child to the parent component.
Once we have a snapshot image, we are hiding the camera, and then we are passing the image from the camera component to its parent component.
For the ngx-webcam, webcam component we have input and output all input is optional. We’ll discuss some import input and output
1. trigger: Observable: Is an input observable to trigger image capturing. When it fires, an image will be captured and emitted (via event binding which we have discussed before).
2. imageCapture: EventEmitter: Is an output and whenever an image is captured (i.e. triggered by [trigger]), the image is emitted via this EventEmitter. The image data is contained in the WebcamImage data structure as both, plain Base64 string and data-URL.
3. cameraSwitched: EventEmitter: Emits the active deviceId after the active video device has been switched.
Edit the camera.component.scss file to add style for the camera and button.
.button {
  color: white;
  background-color: blue;
  padding: 4px;
  text-align: center;
  text-decoration: none;
  display: inline-block;
  font-size: 16px;
  margin: 4px 2px;
  transition-duration: 0.4s;
  cursor: pointer;
  border-radius: 2px;
}

ul.links {
  padding-bottom: 10px;
}
Step 4: Displaying the Camera image in the parent component
In our parent component app.component.ts, we have to receive a snapshot image from the camera component and will display the image in the parent component. We have a child camera tag in our parent component as <app-camera (getPicture)=”handleImage($event)”></app-camera>. The (getPicture) tells Angular that this is an event binding, which is a form of one-way binding where data flows from the element to the rest of the application.
<app-camera (getPicture)="handleImage($event)"></app-camera>

<div class="webcam-image" *ngIf="webcamImage">
  <img [src]="webcamImage.imageAsDataUrl" />
</div>
Edit app.component.ts file as.
import { Component } from '@angular/core';
import { WebcamImage } from 'ngx-webcam';

@Component({
  selector: 'app-root',
  templateUrl: './app.component.html',
  styleUrls: ['./app.component.scss']
})
export class AppComponent {
  webcamImage: WebcamImage | undefined;

  handleImage(webcamImage: WebcamImage) {
    this.webcamImage = webcamImage;
  }
}
In our child component, we have @Output() event binding, which pass are images from our child component to the parent component. In our case camera component is a child, whenever the image is captured it passes the image value to the parent component which is the app component.
I had upload the above Angular camera component using ngx-webcam to stackblitz.com
Custom Angular Camera component
There are plenty of camera libraries, but some of these libraries may not have been updated for many years. Let’s create an Angular camera component I have taken this code from stackblitz is written well but is in Angular 11 let’s implement it in Angular 14 with the material.
Let’s create an Angular camera component by running the following command.
ng g c components/webcameIn the webcame.component.ts file let’s add code for the camera, here we are using navigation API to access the camera and once the snapshot is taken, we are drawing it on canvas.
import { AfterViewInit, Component, ElementRef, ViewChild } from '@angular/core';

@Component({
  selector: 'app-webcame',
  templateUrl: './webcame.component.html',
  styleUrls: ['./webcame.component.scss'],
})
export class WebcameComponent implements AfterViewInit {
  @ViewChild('video') video: ElementRef | undefined;
  @ViewChild('canvas') canvas: ElementRef | undefined;

  WIDTH = 640;
  HEIGHT = 480;

  imageCaptures: string[] = [];
  error: any;
  isCaptured: boolean = false;

  async ngAfterViewInit() {
    await this.setupCamera();
  }

  async setupCamera() {
    if (navigator.mediaDevices && navigator.mediaDevices.getUserMedia) {
      try {
        const stream = await navigator.mediaDevices.getUserMedia({
          video: true,
        });
        if (stream && this.video) {
          this.video.nativeElement.srcObject = stream;
          this.video.nativeElement.play();
          this.error = null;
        } else {
          this.error = 'Sorry camera device is not exist or not working';
        }
      } catch (error) {
        this.error = error;
      }
    }
  }

  capture() {
    this.drawImageToCanvas(this.video?.nativeElement);
    this.imageCaptures.push(this.canvas?.nativeElement.toDataURL('image/png'));
    this.isCaptured = true;
  }

  removeCurrent() {
    this.isCaptured = false;
  }

  setPhoto(idx: number) {
    this.isCaptured = true;
    var image = new Image();
    image.src = this.imageCaptures[idx];
    this.drawImageToCanvas(image);
  }

  drawImageToCanvas(image: any) {
    this.canvas?.nativeElement
      .getContext('2d')
      .drawImage(image, 0, 0, this.WIDTH, this.HEIGHT);
  }
}
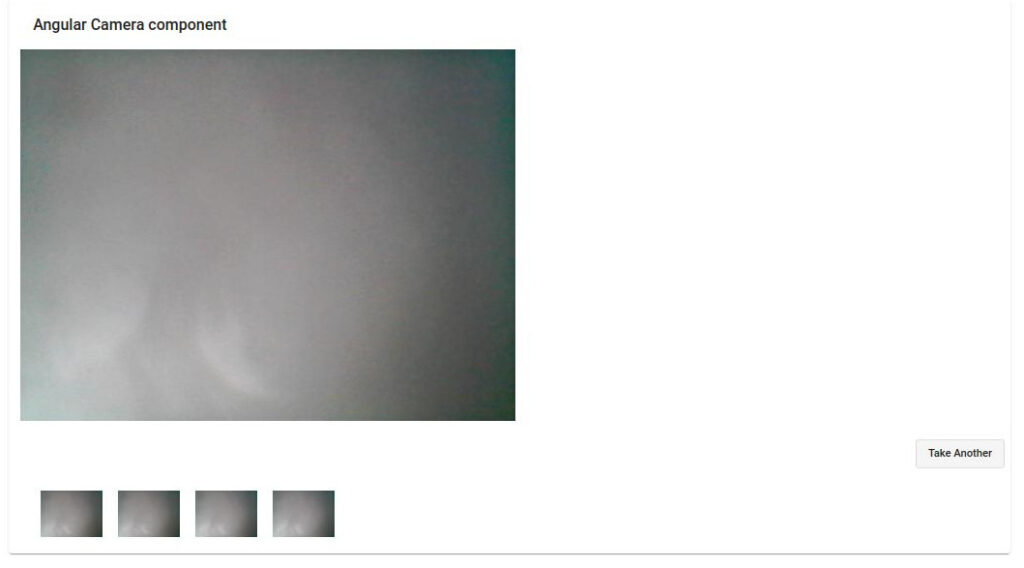
In the webcame.component.html let’s add a button to take a snapshot and display the image from the capture image list.
<div class="container">
  <mat-card class="example-card" *ngIf="!error">
    <mat-card-header>
      <mat-card-title>
        <h2>Angular Camera component</h2>
      </mat-card-title>
    </mat-card-header>

    <mat-card-content>
      <video
        [class.show]="!isCaptured"
        [class.hide]="isCaptured"
        #video
        id="video"
        [width]="WIDTH"
        [height]="HEIGHT"
        autoplay
      ></video>
      <canvas
        [class.show]="isCaptured"
        [class.hide]="!isCaptured"
        #canvas
        id="canvas"
        [width]="WIDTH"
        [height]="HEIGHT"
      ></canvas>
    </mat-card-content>

    <mat-card-actions align="end">
      <button mat-stroked-button *ngIf="!isCaptured" (click)="capture()">
        Take Photo
      </button>
      <button mat-stroked-button *ngIf="isCaptured" (click)="removeCurrent()">
        Take Another
      </button>
    </mat-card-actions>

    <mat-card-footer>
      <ul>
        <li
          *ngFor="let src of imageCaptures; let idx = index"
          (click)="setPhoto(idx)"
        >
          <img [src]="src" height="60" />
        </li>
      </ul>
    </mat-card-footer>
  </mat-card>
</div>
Note: Here is the actual sources of Angular camera component code on Stackbliz.
Conclusion
We have completed our articles on how to capture images from a camera in an Angular application using ngx-webcam. You can customize the style of the camera component to your needs. If you want the code for the Angular camera, we have this in our Github repository.
Related posts
I haave done the code as per the given but it not working.