In this article, we are implementing both the Ionic QR code Scanner and Ionic QR generator. We can use our mobile camera to scan QR codes and a QR code is a machine-readable optical label that contains information.
Ionic QR code Scanner example
Step 1: Let’s create an ionic project to implement an Ionic QR scanner using the below command:
ionic start QR-scanner blank --type=angular
cd QR-scanner
Step 2: Install the Cordova plugin qrscanner in the Ionic QR scanner project
 ionic cordova plugin add cordova-plugin-qrscanner
 npm install @ionic-native/qr-scanner
Step 3: Add the following code in the home.page.html template, we have one button that will call startScanning() method to use a Mobile device camera to perform scan QR code.
<ion-header>
    <ion-toolbar>
        <ion-title>
            Ionic QR Scanner
        </ion-title>
    </ion-toolbar>
</ion-header>

<ion-content>
    <div class="ion-padding">
        <ion-button (click)="startScanning()" expand="full">
         qrscanner
        </ion-button>
        <p *ngIf="qrText">QR Scan text: {{ qrText }}</p>
    </div>
</ion-content>
Step 4: To use the Cordova QR scanner we need to import QRScanner and QRScannerStatus from @ionic-native/qr-scanner/ngx’; Add the code below in home.page.ts typescript to scan QR code
import { Component } from '@angular/core';
import { QRScanner, QRScannerStatus } from '@ionic-native/qr-scanner/ngx';
import { Platform } from '@ionic/angular';

@Component({
  selector: 'app-home',
  templateUrl: 'home.page.html',
  styleUrls: ['home.page.scss'],
})
export class HomePage {
  scanSub: any;
  qrText: string;

  constructor(
    public platform: Platform,
    private qrScanner: QRScanner
  ) {
    this.platform.backButton.subscribeWithPriority(0, () => {
      document.getElementsByTagName('body')[0].style.opacity = '1';
      this.scanSub.unsubscribe();
    });
  }

  startScanning() {
    // Optionally request the permission early
    this.qrScanner.prepare().
      then((status: QRScannerStatus) => {
        if (status.authorized) {
          this.qrScanner.show();
          this.scanSub = document.getElementsByTagName('body')[0].style.opacity = '0';
          debugger
          this.scanSub = this.qrScanner.scan()
            .subscribe((textFound: string) => {
              document.getElementsByTagName('body')[0].style.opacity = '1';
              this.qrScanner.hide();
              this.scanSub.unsubscribe();

              this.qrText = textFound;
            }, (err) => {
              alert(JSON.stringify(err));
            });

        } else if (status.denied) {
        } else {

        }
      })
      .catch((e: any) => console.log('Error is', e));
  }

}
Step 5: We need to import the Ionic QR scanner provider in our app.module.ts file
import { NgModule } from '@angular/core';
.....

import { QRScanner } from '@ionic-native/qr-scanner/ngx';
@NgModule({
  declarations: [AppComponent],
  entryComponents: [],
  imports: [BrowserModule, IonicModule.forRoot(), AppRoutingModule],
  providers: [
    StatusBar,
    SplashScreen,
    { provide: RouteReuseStrategy, useClass: IonicRouteStrategy },
    QRScanner
  ],
  bootstrap: [AppComponent]
})
export class AppModule {}
Ionic QR generator
We had already created the project, let’s add ng-qrcode plugin in our project for scanning QR code
npm i ng-qrcode --save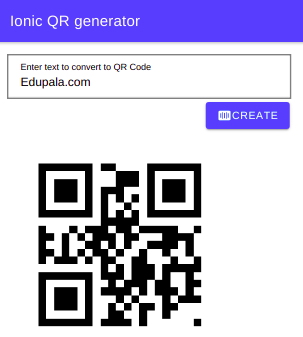
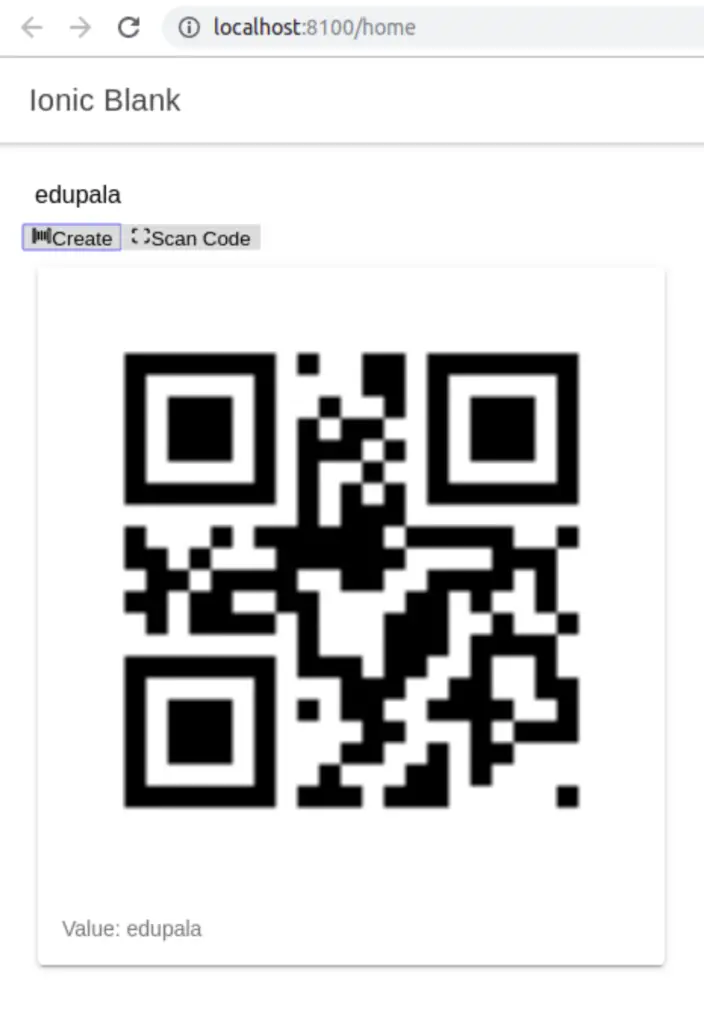
Add the following code in the home.page.html template
<ion-header>
  <ion-toolbar>
     <ion-title>
       QR Code Generator
     </ion-title>
  </ion-toolbar>
</ion-header>

<ion-content [fullscreen]="true">
  <ion-input type="text" placeholder="My QR data" [(ngModel)]="qrData">
  </ion-input>

  <ion-button full icon-left (click)="createCode()">
    <ion-icon name="barcode"></ion-icon>Create
  </ion-button>

  <qr-code [value]="createdCode" size="300" errorCorrectionLevel="M"></qr-code>

</ion-content>
Step 4: Add the following code in the home.page.ts file
import { Component } from '@angular/core';

@Component({
  selector: 'app-home',
  templateUrl: 'home.page.html',
  styleUrls: ['home.page.scss'],
})
export class HomePage {
  qrData = null;
  createdCode = null;

  constructor() {}

  createCode () {
    this.createdCode = this.qrData;
    console.log(this.createdCode);
  }

}
In the home.module.ts we have to import the QrCodeModule module of the QR generator as
import { NgModule } from '@angular/core';
import { CommonModule } from '@angular/common';
import { IonicModule } from '@ionic/angular';
import { FormsModule } from '@angular/forms';
import { RouterModule } from '@angular/router';
import { HomePage } from './home.page';
import { QrCodeModule } from 'ng-qrcode';

@NgModule({
  imports: [
    CommonModule,
    FormsModule,
    IonicModule,
    RouterModule.forChild([
      {
        path: '',
        component: HomePage
      }
    ]),
    QrCodeModule
  ],
  declarations: [HomePage]
})
export class HomePageModule {}
Conclusion
We had completed our tutorial on the Ionic QR scanner on Android devices by using the Cordova plugin from Ionic and theirs are plenty of 3rd parties Javascript library for QR scanning.
Related posts
hello
thank you very much for your tutorial, but when i try it and did the same does not work for me
no errors when building it but when i installed on my mobile does not open the camera
do have solution please
thank you in advance