The Ionic skeleton text component is designed to be used directly in our ionic application and it indicates to the user that data is coming but not yet available. is still loading. It can replace our content while the data is still loading and it is useful for a good user experience. Many popular social networking sites like Facebook and Linkedin use skeleton loading screens on their content. Like the ionic skeleton controller, Ionic has lots of pre-built components, which we can ready to use like action-sheet, loading, toast controller, and more.
Prerequisites:
To create and run an Ionic project, We need Nodejs and Ionic CLI already install in our system, if not then check how to install Nodejs and Ionic in Ubuntu. Ionic CLI allows us to create an Ionic project, generate application and library code, and perform a variety of ongoing development tasks such as testing, bundling, and deployment. To install the Ionic CLI, open a terminal, and run the following command:
npm install -g @ionic/cliSetting up and configuring a project for Ionic skeleton
With the release of ionic version 4, the Ionic framework is no longer limited to angular, we can create the ionic projects in different front-end frameworks like Angular, Vue, and React. Let’s first create a blank Ionic Angular project.
ionic start ionicSkeleton --type=angularIn a real application, we are retrieving data from the server, to demonstrate the Ionic skeleton example we have some dummy data. We will retrieve data using the HTTP client module. Let’s add our dummy data, in the assets folder create a data folder and users.json.
[
    {
      "picture": "http://placehold.it/32x32",
      "age": 23,
      "name": "Bird Ramsey",
      "gender": "male",
      "company": "NIMON",
      "email": "[email protected]"
    },
    {
      "picture": "http://placehold.it/32x32",
      "age": 31,
      "name": "Lillian Burgess",
      "gender": "female",
      "company": "LUXURIA",
      "email": "[email protected]"
    },
    {
      "picture": "http://placehold.it/32x32",
      "age": 34,
      "name": "Kristie Cole",
      "gender": "female",
      "company": "QUADEEBO",
      "email": "[email protected]"
    },
    {
      "picture": "http://placehold.it/32x32",
      "age": 30,
      "name": "Leonor Cross",
      "gender": "female",
      "company": "GRONK",
      "email": "[email protected]"
    },
    {
      "picture": "http://placehold.it/32x32",
      "age": 28,
      "name": "Marsh Mccall",
      "gender": "male",
      "company": "ULTRIMAX",
      "email": "[email protected]"
    }
  ]
We have to import the HTTClient module to retrieve data from source data.
import { NgModule } from '@angular/core';
import { BrowserModule } from '@angular/platform-browser';
import { RouteReuseStrategy } from '@angular/router';
import { IonicModule, IonicRouteStrategy } from '@ionic/angular';
import { SplashScreen } from '@ionic-native/splash-screen/ngx';
import { StatusBar } from '@ionic-native/status-bar/ngx';
import { AppComponent } from './app.component';
import { AppRoutingModule } from './app-routing.module';
import { HttpClientModule } from '@angular/common/http';

@NgModule({
  declarations: [AppComponent],
  entryComponents: [],
  imports: [
    BrowserModule,
    IonicModule.forRoot(),
    AppRoutingModule,
    HttpClientModule
  ],
  providers: [
    StatusBar,
    SplashScreen,
    { provide: RouteReuseStrategy, useClass: IonicRouteStrategy }
  ],
  bootstrap: [AppComponent]
})
export class AppModule { }
Example of the Ionic skeleton
We’ll demonstrate the Skeleton text component for rendering placeholder content where data is still loading. The element will render a gray block at the specified width and we can change the design of the Ionic skeleton text component with our own required design.
Here’s a quick screenshot of what we’ll be building
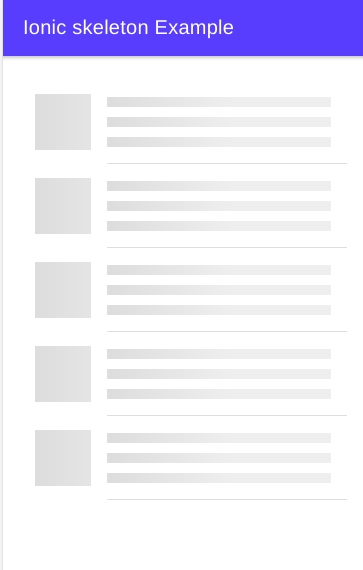
How is the ionic skeleton component going to work?
The Ionic skeleton text component is used when our application needs to load data asynchronously from an API. In the Ionic application, when we retrieve our data from the API server, it will take a certain amount of time to reach the user. When our data are asynchronous and requested data from the server is not yet reached by the user, we can show skeleton information in our component template — all this means is data is asynchronous and is not yet available to the user.
Example of Ionic skeleton example
In our home page template, we can have if the condition if data is not available we can show skeleton text component and if data is available we can show our data in the template. Edit home.page.html file as.
<ion-header [translucent]="true">
<ion-toolbar color="primary">
<ion-title>
Ionic skeleton Example
</ion-title>
</ion-toolbar>
</ion-header>
<ion-content [fullscreen]="true">
<div class="ion-padding">
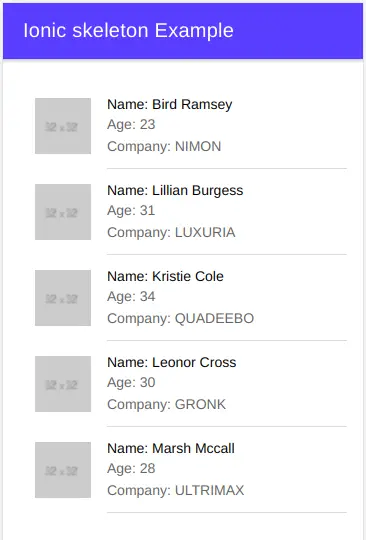
<ion-list *ngIf="users; else skeleton">
<ion-item *ngFor="let user of users">
<ion-thumbnail slot="start">
<img [src]="user.picture" />
</ion-thumbnail>
<ion-label>
<h3>Name: {{ user.name }}</h3>
<p>Age: {{ user.age }}</p>
<p>Company: {{ user.company }}</p>
</ion-label>
</ion-item>
</ion-list>
<ng-template #skeleton>
<ion-list>
<ion-item *ngFor="let item of [1, 2, 3, 4, 5]">
<ion-thumbnail slot="start">
<ion-skeleton-text animated></ion-skeleton-text>
</ion-thumbnail>
</ion-avatar> -->
<ion-label>
<h3>
<ion-skeleton-text animated></ion-skeleton-text>
</h3>
<p>
<ion-skeleton-text animated></ion-skeleton-text>
</p>
<p>
<ion-skeleton-text animated></ion-skeleton-text>
</p>
</ion-label>
</ion-item>
</ion-list>
</ng-template>
</div>
</ion-content>In our example to show the ionic skeleton, we need to delay our data request by 2 milliseconds. Let edit the home.page.ts file
import { HttpClient } from '@angular/common/http';
import { Component, OnInit } from '@angular/core';

@Component({
  selector: 'app-home',
  templateUrl: 'home.page.html',
  styleUrls: ['home.page.scss'],
})
export class HomePage implements OnInit {
  users: any;

  constructor(private http: HttpClient) { }

  ngOnInit() {
    setTimeout(() => {
      this.http.get('./assets/data/users.json').subscribe((response) => {
        this.users = response;
      });
    }, 2000);
  }
}
We have completed an example of an ionic skeleton example. I have created an ionic skeleton example of Facebook.
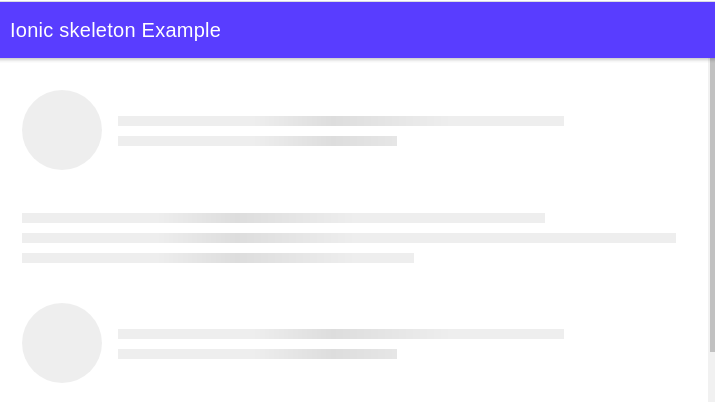
We have used the same typescript data, but we need to edit the home template for the Facebook skeleton.
<ion-header [translucent]="true">
<ion-toolbar color="primary">
<ion-title>
Ionic skeleton Example
</ion-title>
</ion-toolbar>
</ion-header>
<ion-content [fullscreen]="true">
<div class="ion-padding">
<ion-list *ngIf="users; else skeleton">
<ion-item *ngFor="let user of users">
<ion-thumbnail slot="start">
<img [src]="user.picture" />
</ion-thumbnail>
<!-- <ion-avatar slot="start">
<img [src]="user.picture" />
</ion-avatar> -->
<ion-label>
<h3>Name: {{ user.name }}</h3>
<p>Age: {{ user.age }}</p>
<p>Company: {{ user.company }}</p>
</ion-label>
</ion-item>
</ion-list>
<ng-template #skeleton>
<div *ngFor="let item of [1, 2, 3, 4, 5]">
<ion-list lines="none">
<ion-item>
<ion-avatar slot="start">
<ion-skeleton-text animated></ion-skeleton-text>
</ion-avatar>
<ion-label>
<h3>
<ion-skeleton-text animated style="width: 80%"></ion-skeleton-text>
</h3>
<p>
<ion-skeleton-text animated style="width: 50%"></ion-skeleton-text>
</p>
</ion-label>
</ion-item>
<ion-item style="margin-top:20px;">
<ion-label>
<p>
<ion-skeleton-text animated style="width: 80%"></ion-skeleton-text>
</p>
<p>
<ion-skeleton-text animated style="width: 100%"></ion-skeleton-text>
</p>
<p>
<ion-skeleton-text animated style="width: 60%"></ion-skeleton-text>
</p>
</ion-label>
</ion-item>
</ion-list>
</div>
</ng-template>
</div>
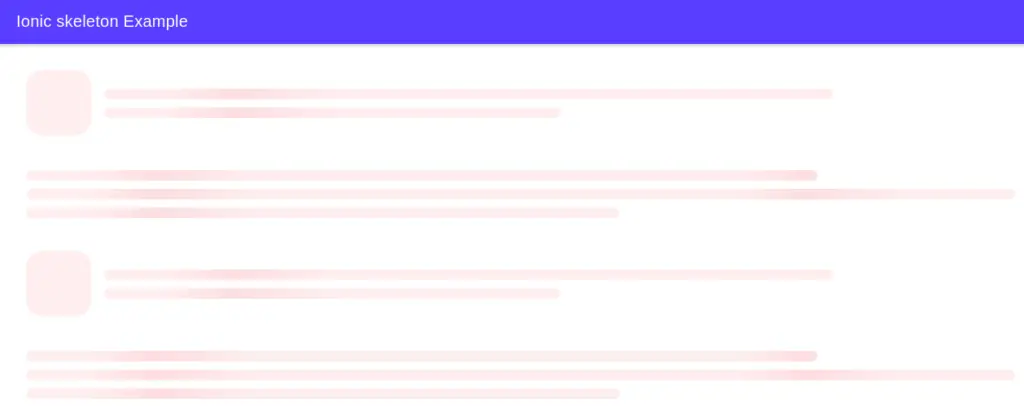
</ion-content>Style Ionic skeleton:
We can change the ionic skeleton color and line-height, to apply the red background and border-radius. Edit your component scss file.
ion-skeleton-text {
  line-height: 13px;
  --background-rgb: 230,40,50;
  --border-radius: 20px;
}

.custom-skeleton ion-skeleton-text:last-child {
  margin-bottom: 5px;
}
Conclusion
In this tutorial, we have demonstrated two examples of Ionic skeleton text components in our Ionic apps.
Related posts