In these articles, we will learn how to use an Ionic Barcode Scanner. We will use a plugin called Cordova-plugin-barcode scanner to a barcode and this opens a camera view and automatically scans a barcode, returning the data back to you.
Setting up and configure Ionic Barcode scanner
Let first create a project to implement an Ionic barcode scanner.
ionic start barcodeScanner blank --type=angular
cd barScanner
Ionic barcode scanner
Let add and install barcode-scanner
ionic cordova plugin add phonegap-plugin-barcodescanner
npm install @ionic-native/barcode-scanner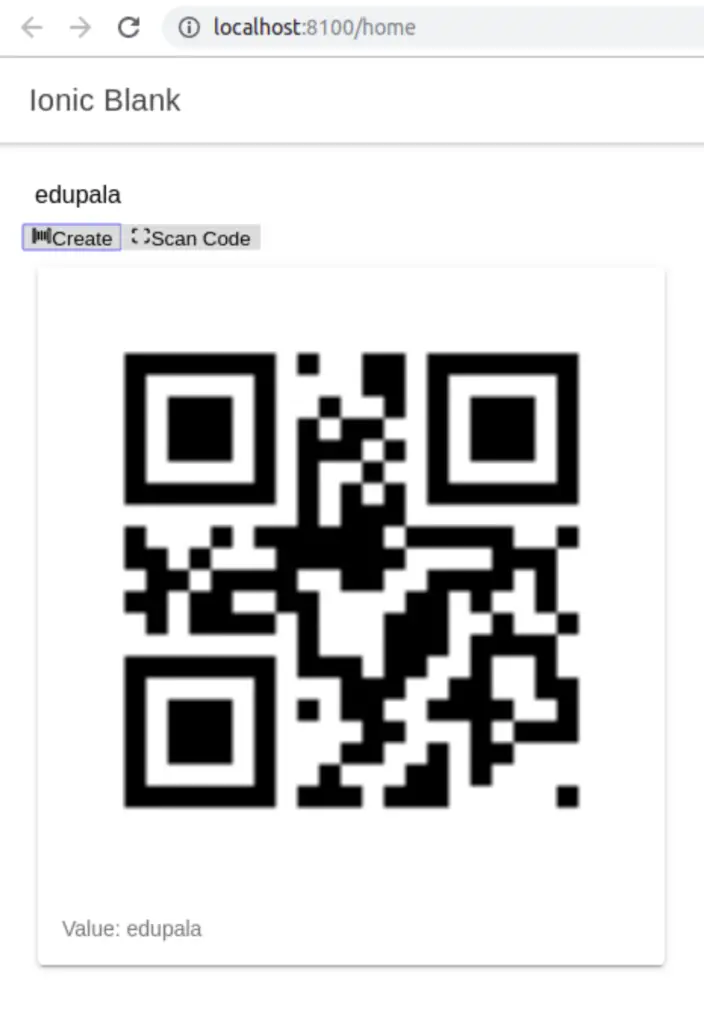
Add the following code in the home.page.html template
<ion-header>
  <ion-toolbar>
     <ion-title>
       Ionic Scanner
     </ion-title>
  </ion-toolbar>
</ion-header>

<ion-content>
  <div class="ion-padding">
    <ion-button full icon-left (click)="createCode()>
     <ion-icon name="barcode"></ion-icon>Create
    </ion-button>

     <ion-card *ngIf="scannedCode">
       <ion-card-content>
         Result from scan: {{ scannedCode }}
       </ion-card-content>
      </ion-card>
 </div>
</ion-content>
Step 4: Add the following code in the home.page.ts file
import { Component } from '@angular/core';
import { BarcodeScanner } from '@ionic-native/barcode-scanner/ngx';

@Component({
  selector: 'app-home',
  templateUrl: 'home.page.html',
  styleUrls: ['home.page.scss'],
})
export class HomePage {
  scannedCode = null;

  constructor(private barcodeScanner: BarcodeScanner) {}

  scanCode () {
    this.barcodeScanner.scan().then(barcodeData => {
      this.scannedCode = barcodeData.text;
    })
  }

}
Step 5: Add the following BarcodeScanner provider in app.module.ts
import { NgModule } from '@angular/core';
...
import { BarcodeScanner } from '@ionic-native/barcode-scanner/ngx';
import { AppComponent } from './app.component';
import { AppRoutingModule } from './app-routing.module';

@NgModule({
  declarations: [AppComponent],
  entryComponents: [],
  imports: [
    BrowserModule,
    IonicModule.forRoot(),
    AppRoutingModule],
  providers: [
    StatusBar,
    SplashScreen,
    { provide: RouteReuseStrategy, useClass: IonicRouteStrategy },
    BarcodeScanner
  ],
  bootstrap: [AppComponent]
})
export class AppModule {}
Conclusion
We had completed our tutorial on the Ionic QR scanner, generator, and Ionic barcode scanner.
Related posts