Routing is used extensively on both client and server-side. Express routing is server-side routing and is responsible for responding to different URLs with different HTTP methods (GET, POST, PUT, DELETE) requested asked by clients.
In this tutorial, we’ll learn how to configure Express routes in detail. How we can handle different HTTP method requests and how to retrieve data from route params.
Express routes – overview
Routing is an important feature of Express, and it provides a simple interface for handling an incoming URL request from a client by a certain piece of code at the server. Based on user requests, server code responses can be reading data from a database, writing data to a database, or serving a static HTML page based on client requests.
In an Express, we can handle and respond to the particular URI (Uniform Resources Identifier) through the HTTP Client request method (GET, POST, DELETE, PUT, and so on). It should handle the following.
- Determine who should handle a particular URL with different HTTP methods at a server.
- Retrieve params query if any on URL at server side.
- Serve the client content request if it asking for.
How to implement Express routing and its syntax
Express Routes determine what and who should responsible for handling when a particular incoming URL request is made by a client. The syntax of express routes handler.
const router = express.Router();

app.method(Path, Handler);

// Request to root path or domain
app.get('/', (req, res) => {  }
We can use the express router class method on the HTTP verbs – GET, PUT, DELETE and etc. The syntax of Express routes where.
- Path: The path is the route at which the request will run
- Handler: Each route can have one or more handler functions or controllers, which are executed when the route is matched. In handler have three parameters. The req for request, res for respond, and next is optional.
Basic Express route example
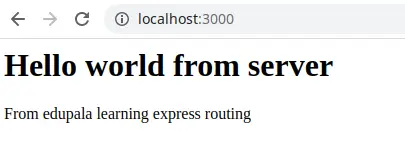
Let’s demonstrate the first basic route example to access the root or home page of the server using the HTTP GET method. We need to import express, assign it to app const and we have added get on the app to respond to GET request of path root. Here is a screenshot of what we get.
In the server.js file let’s add our first routing example.
const express = require('express');
const app = express();

const port = 3000;

//HTTP GET request for root URL
app.get('/', (req, res, next) => {
    res.send(`<h1>Hello world from server</h1>
      <p>From edupala learning express routing</p>
    `);
  });

app.listen(port, () => {
    console.log('Server startd on port ' +port);
 });
Express routes example using express.route method
Let’s demonstrate a few examples of Express routing we are using an express route to access the resources of HTTP GET / or root, /about, /contact routes, etc. Let’s first create an express project by running the following.
npm init
// We need to add some optional data for prompt option by running above command
First, create a server.js file in the root folder, we will demonstrate an express router example. We need to install Express library, which is a Fast, unopinionated, minimalist web framework for node.
npm i express --saveStep 1: Create or configure our routing: Let’s create a routes folder in the root folder, inside this folder create a file called index.js and here we add all our routing configurations. In the src/routes/index.js file let’s add the following routes configuration.
const express = require('express');
const router = express.Router();

router.get('/', (req, res, next) => {
  res.send(`<h1>Hello world from server</h1>
        <p>From edupala learning express routing</p>
      `);
});

router.get('/about', (req, res, next) => {
  res.send('ABOUT PAGE');
});

router.get('/contact', (req, res, next) => {
  res.send('CONTACT PAGE');
});

module.exports = router;
The express.Router() function is used to create a new router object. This function is used when you want to create a new router object in your program to handle requests.
Step 2: Register our routes in server.js file
const express = require("express");
const routes = require('./routes');

const app = express();

const port = 3000;

// Register router
app.use('/', routes);


app.listen(port, () => {
  console.log("Server startd on port " + port);
});
NOTE: We can access the root file as http://localhost:3000, we can access the about page at http://localhost:3000/about or http://localhost:3000/contact
Express route methods
In our previous example, we only focus on HTTP GET Method only. A route method of Express is derived from one of the HTTP methods and is attached to an instance of the express class or express.Router() method.
We can have the following route methods we can attach to the route class.
| Route method | Description |
| router.get(‘path’, callback(req, res, next)) | HTTP GET request for URL of PATH, we have requested, respond, and next can be optional middleware. |
| router.get(‘path:/id’, callback(req, res, next)) | HTTP GET request for URL of PATH with id of particular data. |
| router.pos(‘path’, callbackFunction) | HTTP POST request of has the same parameter as getting request, where req object has data to POST to the database. |
| router.put(‘path/:id’, callbackFunction) | HTTP PUT method to modify data of having id at database. |
| router.delete(‘path/:id’, callbackFunction) | An HTTP DELETE request to delete data of id at a database. |
// access single book detail
router.get('api/books/:id', (req, res) => {
 const id = req.params.id;
 // code to retrieve data of having id
});

// HTTP DELETE
router.delete('api/books/:id', (req, res, next) => {
 const id = req.params.id;
 // code to delete data of having id
}

// HTTP POST
app.post('api/books', (req,res) => {
   res.send('About Us: ...');
})
Express route serving static HTML file
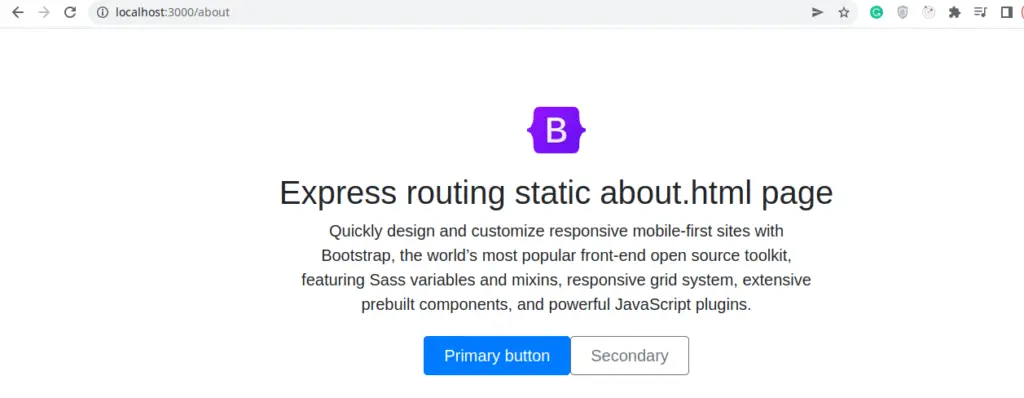
Let’s demonstrate an example to display static HTML files via routing. Here is a screenshot of our about.html file.
Step 1: Let create an about.html file inside our express root folder and add the following code.
<!DOCTYPE html>
<html lang="en">
  <head>
    <meta charset="utf-8" />
    <meta
      name="viewport"
      content="width=device-width, initial-scale=1, shrink-to-fit=no"
    />
    <meta name="description" content="" />
    <meta name="author" content="" />
    <link
      rel="icon"
      href="https://getbootstrap.com/docs/4.0/assets/img/favicons/favicon.ico"
    />

    <title>Bootstrap</title>

    <!-- Bootstrap core CSS -->
    <link
      href="https://getbootstrap.com/docs/4.0/dist/css/bootstrap.min.css"
      rel="stylesheet"
    />
  </head>

  <body>
    <div class="px-4 py-5 my-5 text-center">
      <img
        class="d-block mx-auto mb-4"
        src="https://getbootstrap.com/docs/5.1/assets/brand/bootstrap-logo.svg"
        alt=""
        width="72"
        height="57"
      />
      <h1 class="display-5 fw-bold">Express routing static about.html page</h1>
      <div class="col-lg-6 mx-auto">
        <p class="lead mb-4">
          Quickly design and customize responsive mobile-first sites with
          Bootstrap, the world’s most popular front-end open source toolkit,
          featuring Sass variables and mixins, responsive grid system, extensive
          prebuilt components, and powerful JavaScript plugins.
        </p>
        <div class="d-grid gap-2 d-sm-flex justify-content-sm-center">
          <button type="button" class="btn btn-primary btn-lg px-4 gap-3">
            Primary button
          </button>
          <button type="button" class="btn btn-outline-secondary btn-lg px-4">
            Secondary
          </button>
        </div>
      </div>
    </div>
  </body>
</html>
In the routes file which is the routes/index.js file, we need to import the path and configure our routing setting as follows.
const express = require("express");
const path = require("path");

const router = express.Router();

router.get("/about", (req, res) => {
  const reqPath = path.join(__dirname, '../');
  res.sendFile(reqPath + 'about.html');
});


module.exports = router;
As our about.html file is in the root folder and routes/index.js we need to go back to one folder by using path.join(__dirname, ‘../’);. The __dirname will give the current file folder, we need to add a backslash to go back to one folder back.
Express Router query params and parameter
Let’s first demonstrate an example to extract parameter id from routing URL. Let’s say we want to extract the id which has value 12 of the following URL.
http://localhost:3000/posts/12Let’s configure our route for the above posts with id request in our routes/index.js file. We can use the parameters of the request objects to retrieve our id from the URL request.
router.get("/posts/:id", (req, res) => {
  res.send("POST PAGE" + req.params.id);
});
We can also easily extract Express Router query params value, by using query on the request object. Here is our URL request with query.
http://localhost:3000/posts?category=news&place=USAHere is a screenshot of the route with two queries a category and a place.

router.get("/posts", (req, res) => {
  const category = req.query.category;
  const place = req.query.place;

  res.send(`<h1>List all ${category} category post from ${place}</h1>`);
});
Route with subpath and view engine
We can easily access routes having sub-paths eg http://localhost:3000/blog/articles/add.
const express = require('express');
const router = express.Router();

router.get('/', (req, res, next) => {
    res.send('BLOG');
});

router.get('/articles/add', (req, res, next) => {
    res.render('add_article', {title: 'Create Article'});
});

module.exports = router;
Create a folder view in the root folder and add two new files for the template, add_article.pug and layout.pug. Add the following code to the layout.pug file. Where add_article is the name of the view file to render when the user access http://localhost:3000/articles/add
doctype html
html
  head
    title BooksBlog
  body
    block content
add the following code in add_article.pug file
extends layout

block content
  h1 #{title}
Example 2: Accessing the particular sub-path like particular articles using the view engine
http://localhost:3000/manage/books/edit/2Step 1: Let first create and add the manage.js code of the route in the routes folder. We can access the following routes
http://localhost:3000/manage/books/edit/2
http://localhost:3000/manage/books
http://localhost:3000/manage/books/add
The src/routes/manage.js file adds the following route configuration.
const express = require('express');
const router = express.Router();

router.get('/books', (req, res, next) => {
  res.render('manage_books', {title: 'Manage books'});
});

router.get('/books/add', (req, res, next) => {
  res.render('add_book', {title: 'Create book'});
});

router.get('/books/edit/:id', (req, res, next) => {
  res.render('edit_book', {title: 'Edit book'});
});

module.exports = router;
Step 2: In the view folder, we will have to add 3 file books.pug, edit_book.pug and edit_book.pug. We will add code for books.pug and the same code can be added to the other two files.
extends layout

block content
  h1 #{title}
Express routes middleware
Apply middleware on express routes and will demonstrate a few examples of it later.
var express = require('express');
var router = express.Router();


var ALLOWED_IPS = [
    "127.0.0.1",
    "10.10.10.1",
    "localhost"
];


router.use(function(req, res, next){  // Add midddleware
    var userIsAllowed = ALLOWED_IPS.indexOf(req.ip) !== -1;
    if(!userIsAllowed){
        res.status(401).send("Not Authorized !");
    }else{
        nex();
    }
});


router.get('/teachers', function(req, res) {
  res.render('teachers', {
    pageTitle: 'Teachers',
    pageID: 'teacherList'
  });
});

....

module.exports = router;Conclusion: We had covered Express routing in detail, I hope you got some idea of server-side routing and check Express documentation for more information on Express.
Related Post