Main topic or section is How to Deploying the application to production [Docker + Kubernetes + AWS], from our tutorial.
This tutorial is first part of section 3, first step:
Dockerizing a Go application as a preliminary step for deployment to AWS.
We will provides a complete walkthrough for dockerizing a Go application as a crucial first step before deploying to AWS. We’ll cover everything from proper Git workflows to creating optimized Docker images using multi-stage builds.
This tutorial explains how to containerize a Golang application using Docker, with a focus on creating a small, production-ready image using multistage build.
Main topic or section is How to Deploying the application to production [Docker + Kubernetes + AWS], from our tutorial.
This tutorial is first part of section 3, first step: Dockerizing a Go application as a preliminary step for deployment to AWS.
We will provides a complete walkthrough for dockerizing a Go application as a crucial first step before deploying to AWS. We’ll cover everything from proper Git workflows to creating optimized Docker images using multi-stage builds.
Table of Contents
1. Introduction: Why Docker?
Before diving in, let’s understand why we’re using Docker. Docker allows us to package our application and its dependencies into a standardized unit called a container.
Key Benefits:
- Consistency: Your application runs the same way everywhere, from your local machine to a production server.
- Portability: Docker containers can run on any system that has Docker installed.
- Isolation: Containers run in isolation, so they don’t interfere with each other or the host system.
2. How to deploy an application ?
Fist step : Dockerizing a Go application as a preliminary step for deployment to AWS.
Key technical points and procedures covered:
- Git Workflow:
- Emphasizes the best practice of not pushing directly to the
mainbranch. - Demonstrates creating a new feature branch:
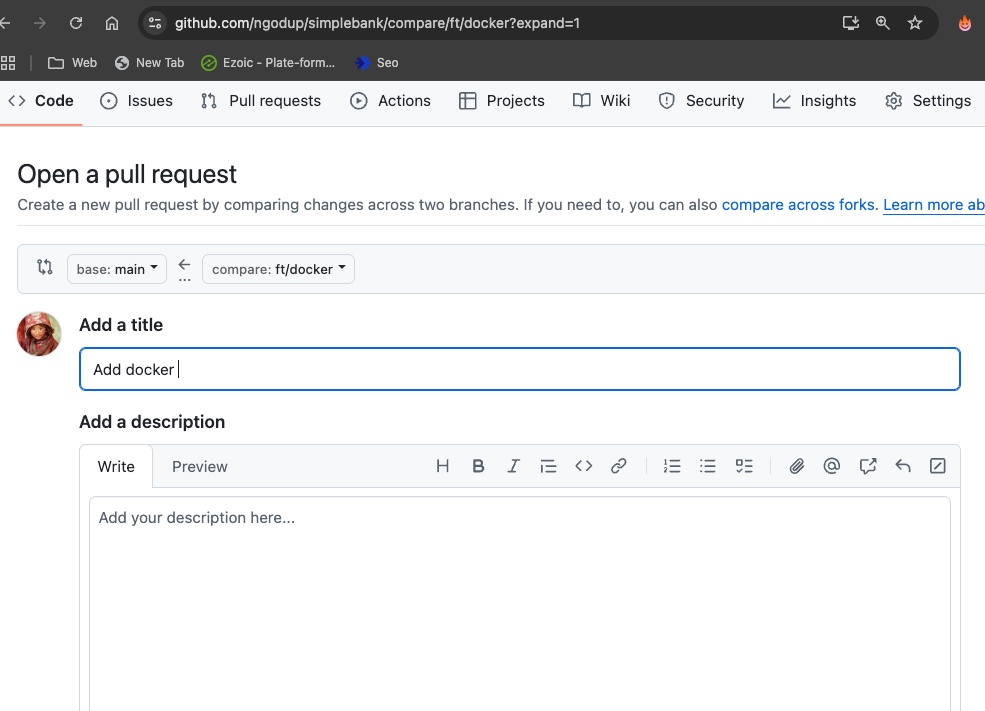
git checkout -b ft/docker. where ft : stand for feature - Changes are committed to the feature branch and a Pull Request is created on GitHub for review and CI checks.
- Only merge it back after the nex code is properly tested and reviewed.
- Emphasizes the best practice of not pushing directly to the

3. Git Branching for New Features
It’s a best practice to never push new code directly to the master (or main) branch. For any new feature, you should create a dedicated “feature branch”.
To create and switch to a new branch named ft/docker:
git checkout -b ft/docker- Context: The
ft/prefix is a common convention to denote a “feature” branch. This helps keep the repository organized. Once the feature is complete and tested, you can merge it back into themasterbranch through a Pull Request (PR).
4. Preparing Your Application
If your go version is old, then let update our project to make sure it is compatible with this new version.
- Update
go.mod: This file manages your project’s dependencies and Go version.// go.mod module github.com/techschool/simplebank go 1.24.5 // <-- Update this version require (...) - Update CI/CD pipeline: If you have a continuous integration pipeline (e.g., GitHub Actions), make sure to update the Go version there as well.
“`yaml
# .github/workflows/ci.yml
…- name: Setup Go
uses: actions/setup-go@v2
with:
go-version: 1.24.5 # <– Update this version
…
“`
- name: Setup Go
After making these changes, commit them to your feature branch.
git add .
git commit -m "update go ... to 1.24.5"
git push origin ft/docker
#Generate git remote link like this
https://github.com/yourusername/simplebank/pull/new/ft/docker
Now copy above link and past in chrome and inside this change update text to add docker and click on Create pull request.
Now in conversation tabs in github site we can see that CI unit test is tiggered and running. The test are very important we need to make sure that our code work well with our latest update Go version 1.24.
5. Update Database Migrations
Also check .github/workflows/ci.ym in our project if your migrate -version in system and migration verson in ci.yml file should be same, if not then update to latest version by modify the number in ci.yml file and also update system migrate version by running
brew upgrade golang-migrate`golang-migrate` is upgraded to the latest version (`4.14.1`) using `brew upgrade golang-migrate`. If you upgrade then make sure you run make migration in our project to check if migration is successful.
# Check current version
migrate -version

# Update if needed (MacOS)
brew upgrade golang-migrate

# Verify migrations work
make migrateup
If update then push the changes to ft/docker branch.
git add .
git commit -m "Update Go version to 1.24.5 and migration tools"
git push origin ft/docker
Now the apps is ready for the first release.
4. Writing a Simple Dockerfile
Create a file named Dockerfile (with a capital ‘D’) in your project’s root directory. This is our first attempt, which will create a large image.
Step 1 Define the basic base image to build our application, as our apps is build in golang we need golang base image to build it.
visit hub.docker.com, search golang and select stable version with alpine version as it produce a small output image.
Create Dockerfile at project root:
FROM golang:1.24.6-alpine3.22
WORKDIR /app
COPY . .
RUN go build -o main main.go

EXPOSE 8080
CMD ["/app/main"]
Step 2: Create docker image from above docker files and In root project terminal run.
docker build --help #Get more help information

docker build -t simplebank:latest .
By running above command will generate large docker images, you can check by running
docker images
simplebank latest acaba203471f 14 seconds ago 645MB
We can see that it has around 645MB, this is because it contains golang and all the packages that required by our project. But only thing that we need is just binary file after running go build command, we dont need anything else, even original golang code which we have created.
Problem: Image is too large (~645MB) because it contains:
- Go compiler
- All dependencies
- Source code
- Build tools
Now question comes, is it possible to reduce the size of the output image ?
Yes answer is multi stage build to achive it, so we need to produce an image just the binary file of the project, then it size would be very small. Now we need to convert above Dockerfile into multistage.
Dockerfile Creation (Multi-Stage Build):
The primary goal is to create a minimal, lightweight Docker image for production lets modify the Dockerfile and add following code.
# Stage 1: Build the application
#Build stage
FROM golang:1.24.6-alpine3.22 AS builder
WORKDIR /app
COPY . .
RUN go build -o main main.go

#Run stage
FROM alpine:3.22
WORKDIR /app
COPY --from=builder /app/main .

EXPOSE 8080
CMD ["/app/main"]- Stage 1 (Builder): Build stage where we just build only the binary file
*FROM golang:1.24.5-alpine AS builder
* The Go source code is copied into the container.
* The application is compiled into a single binary:RUN go build -o main main.go. - Stage 2 (Final run stage Image):
We need to copy the executable binary file from the builder stage to this run stage image.
*FROM alpine:.22(a very small base image).
* The compiled binary from thebuilderstage is copied over:COPY --from=builder /app/main ..
* The application port is documented:EXPOSE 8080.
* The default command to run the application is set:CMD ["/app/main"].
Now lets run docker build image to see light weight images by running
docker build -t simplebank:latest .
docker images | grep simplebank
check docker images you can see the light version, and remove the old image by running
docker rmi acaba203471f where acaba203471f is docker image name
Result:
A single-stage build resulted in a large image (452 MB).
The multi-stage build produced a significantly smaller, optimized image (17.7 MB).
# Dockerfile

# 1. Base Image: Use a Go image to build the application
FROM golang:1.24.6-alpine3.22

# 2. Set Working Directory: All subsequent commands will run from here
WORKDIR /app

# 3. Copy Files: Copy all project files into the image
COPY . .

# 4. Build the App: Compile the Go application into a single binary
RUN go build -o main main.go

# 5. Expose Port: Document the port the application listens on
EXPOSE 8080

# 6. Run Command: The command to run when the container starts
CMD ["/app/main"]
Dockerfile Instructions Explained
FROM golang:1.16-alpine3.13: We start with a base image that includes the Go toolchain. Thealpinetag means it’s based on Alpine Linux, which is very lightweight.WORKDIR /app: Sets the working directory inside the container. This is where our code will live and where commands will be executed.COPY . .: This copies files from the “build context” (the directory where you rundocker build, in this case, your project root) into the container’s working directory (/app).- Important: This copies everything, including the
.gitdirectory, which is not ideal. To prevent this, you should create a.dockerignorefile and add.git,*.md, and other unnecessary files to it. This will speed up your builds and reduce image size.
- Important: This copies everything, including the
RUN go build -o main main.go: This executes the Go compiler to build your application. The-o mainflag specifies that the output executable should be namedmain.EXPOSE 8080: This is purely for documentation. It tells the user of the image that the application inside listens on port 8080. It does not automatically open the port. You still need to usedocker run -p 8080:8080 ...to map it.CMD ["/app/main"]: This specifies the default command to run when the container starts. It will execute the compiled binary.
Building the Image:
Now, build the image from your terminal:
docker build -t simplebank:latest .-t simplebank:latest: This “tags” the image with a name (simplebank) and a tag (latest)..: This specifies the build context (the current directory).
After the build, check the image size:
docker imagesYou’ll notice the image is quite large (e.g., ~450MB). This is because it contains the entire Go toolchain and all your source code, not just the compiled binary.
5. Multistage Dockerfile for a Small Image
To create a much smaller image, we use a multistage build. The idea is to use one “stage” to build the application, and a second, clean stage to run it.
Update your Dockerfile:
# Dockerfile

#Build stage
# Use a Go image to build the application
FROM golang:1.24.6-alpine3.22 AS builder

# Set the working directory
WORKDIR /app
# Copy all project files
COPY . .
RUN go build -o main main.go
RUN apk add curl
RUN curl -L https://github.com/golang-migrate/migrate/releases/download/v4.18.3/migrate.linux-amd64.tar.gz | tar xvz


# ---- Run Stage ----
# Use a minimal Alpine image for the final image
FROM alpine:3.22
# Set the working directory
WORKDIR /app
# Copy ONLY the compiled binary from the 'builder' stage
COPY --from=builder /app/main .
COPY --from=builder /app/migrate .
COPY app.env .
COPY start.sh .
COPY wait-for.sh .
COPY db/migration ./migration

RUN chmod +x /app/start.sh /app/wait-for.sh

# Expose the port
EXPOSE 8080
# The command to run when the container starts
CMD [ "/app/main" ]
ENTRYPOINT [ "/app/start.sh" ]
What’s New?
FROM golang:1.24.6-alpine3.22 AS builder: We name the first stagebuilder.RUN CGO_ENABLED=0 go build ...:CGO_ENABLED=0: This is a crucial addition. It creates a statically linked binary, meaning it has no dependencies on C libraries from the underlying OS. This is essential for running the binary in a minimalalpineimage that might not have those libraries.-ldflags="-w -s": These are linker flags that strip debug symbols (-s) and DWARF symbol table (-w) from the binary, making it smaller.
FROM alpine:3.13: This starts a new, second stage from a bare Alpine Linux image, which is very small (~5MB).COPY --from=builder /app/main .: This is the magic of multistage builds. It copies the compiledmainbinary from thebuilderstage into our new, clean stage. Nothing else from thebuilderstage (like the Go toolchain or source code) is carried over.CMD ["./main"]: We run the binary (which is now in/app/main).
Rebuilding the Image
Build the image again with the same command:
docker build -t simplebank:latest .Now, check the image size:
docker imagesThe new image should be dramatically smaller (e.g., ~15-20MB). You’ve successfully created a lightweight, production-ready Docker image for your Go application!
The old, larger image will now appear as <none>:<none>. This is called a “dangling image”. You can remove it to free up space:
docker rmi $(docker images -f "dangling=true" -q)6. Next Steps
You now have a portable Docker image. The next step is to run it using docker run and connect it to other services like a database, which can be managed using Docker Compose.